3D Object Renders

I enjoy 3D modeling (as a hobby) and maybe in years to come as a late-life career or just something more. Creating images using a computer that looks like something believable is rewarding. At some point, I will move on to more abstract renderings with the technology, but I am just enjoying learning and creating now.
Below is a few "real" object renders I created using Cheetah3D (C3D). This is a Mac-only program that is reasonably intuitive and easy to learn. It lacks a few bells and whistles of some of the "professional" 3D modeling and rendering packages, but the results are outstanding for the price. The C3D user community is also a great resource.
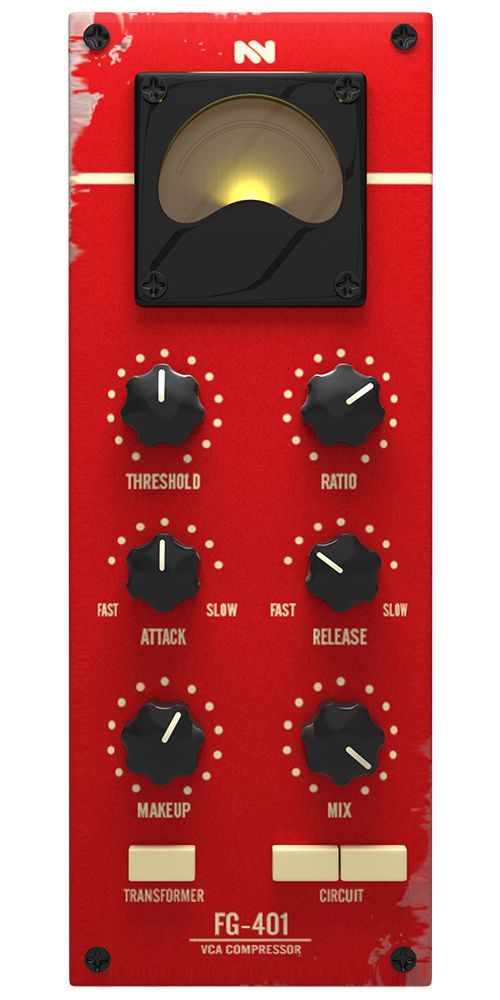
Audio Compressor
Here is an object render of an audio compressor of some kind. This one is from a tutorial by designer and Cheetah3D user NoVolume that you can find here if you want to learn some of the same techniques. A caveat about that tutorial is that Dave skips over some basics of Cheetah3D in favor of moving quickly. You should check out his other tutorials first to learn some of the basic techniques.

Note: You will not achieve an exact match to my image if you follow Dave's tutorial. I added a few changes of my own to get this render to look the way I wanted.
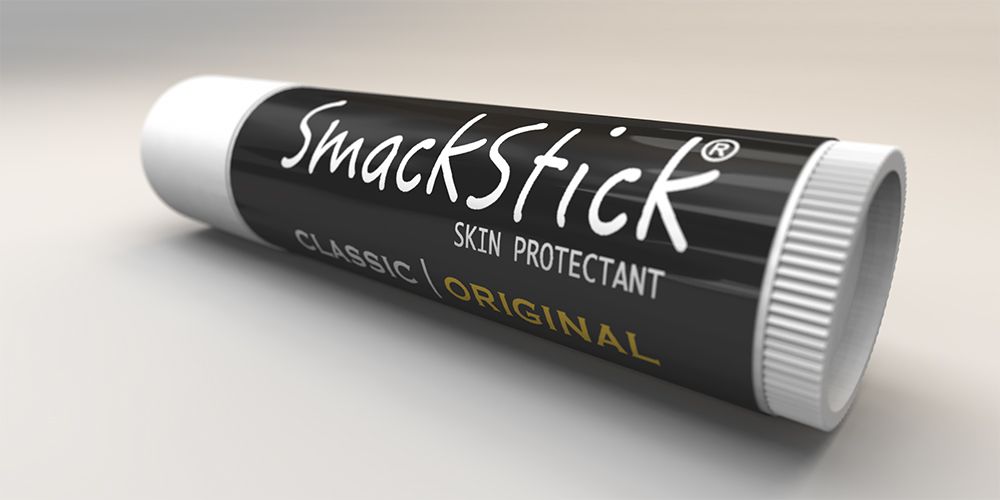
Chapstick
This is a stick of lip balm that I rendered after a friend, and I started doing random renders. I modeled and rendered this all in Cheetah3D. I made the label in a bitmap image program and then loaded it into the image diffuse property of a texture in Cheetah. Depth of Field (DOF) rendering can be very... very slow. You should get your renders to look how you want without DOF first and then apply it during the final render or handle this using a bitmap image program (Photoshop, Pixelmator, etc...) by applying a blur / DOF filter effect.

You can get the DOF effect in C3D to go a little faster (usually for test renders) if you turn down the samples and drastically reduce the image output size. (almost to a thumbnail size for preview)
To do this:
- Click on your camera object in Cheetah3D
- Locate the "Render" section on the properties panel
- Change "Min. Samples" and "Max. Samples" to "1 x 1"
- Locate the "Output" section on the properties panel
- Change the "Resolution width" and "Resolution height" to something relatively small
If you follow the steps above, just scale the output size proportional to the ratio of the width and height of your own image. For example, if your ratio is 2:1, use something like 100x50. However you decide to do it, I would not recommend applying DOF to the full-sized image until the end of your process.
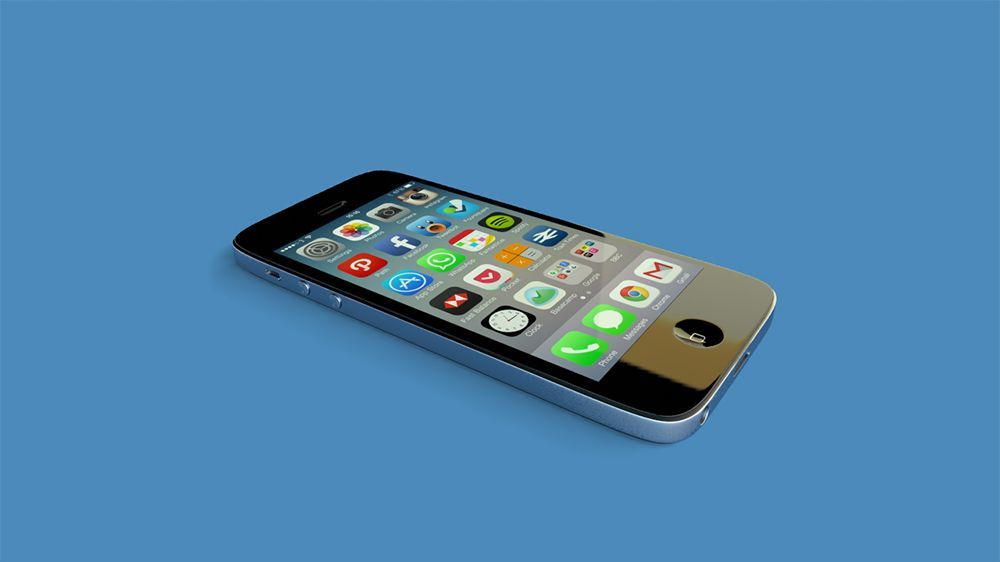
iPhone
This was the result of another tutorial from NoVolume. There are some gaps in my design compared to the real thing, but this project was fun for me. I definitely learned a thing or two about concept art for electronics.

In another recent post, I posted some images of objects I rendered using C3D. Two of those were also from Dave's tutorials. Feel free to have a look there and let me know if you have any questions or comments. Another excellent resource for answering questions about Cheetah3D is the community forum at http://www.cheetah3d.com/forum/. Some helpful people post on there, and you are likely to get a response to your question quickly.
Cheers!